
Let’s admit; Windows 10 is right now the most popular desktop operating system. Compared to every other desktop OS, Windows provides users far more features. Not only that, but Windows also got softwares for almost everything. If you have been using Windows for a while, then you might know that the operating system doesn’t provide any feature to hide an entire drive.
Hiding files and folders is indeed a great option to boost security, but what if we tell you that you can hide an entire hard drive partition from the file explorer? It’s possible, and it can be done without installing any third-party app.
So, in this article, we have decided to share a detailed guide on how to hide individual hard drive partition on Windows 10 computers. With this method, you can easily hide any Windows 10 drive from the default file explorer.
How to Hide an Entire Drive on Windows 10 in 2020
To hide entire drives on Windows 10, you need to use the Registry editor. Make sure to follow the steps carefully, or else you will end up triggering different errors.
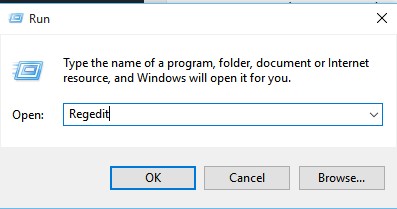
Step 1. First of all, open the Start menu and search for ‘RUN’. Open the Run Dialog box.

Step 2. On the RUN Dialog box, you need to search for ‘Regedit’
Step 3. This will open up the Registry Editor on Windows 10.
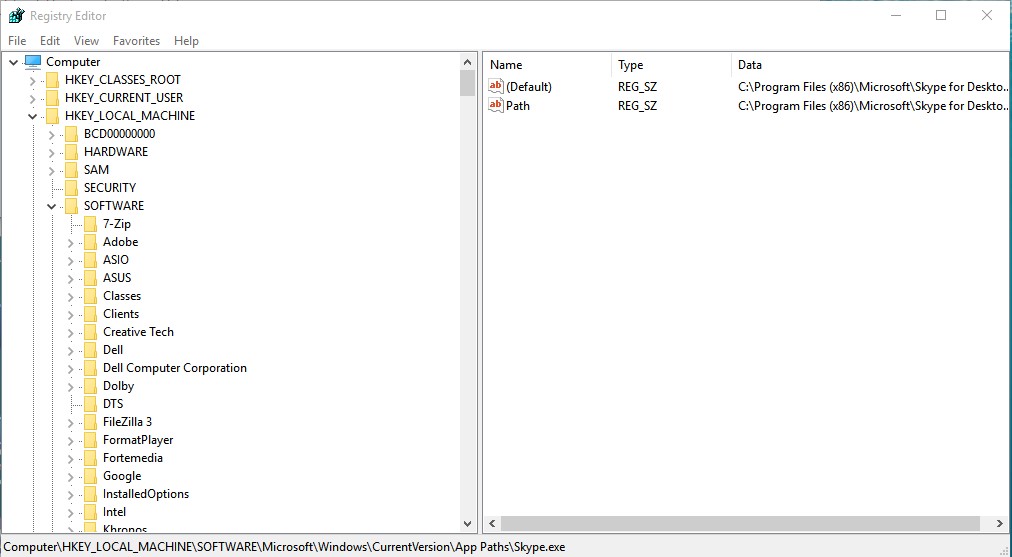
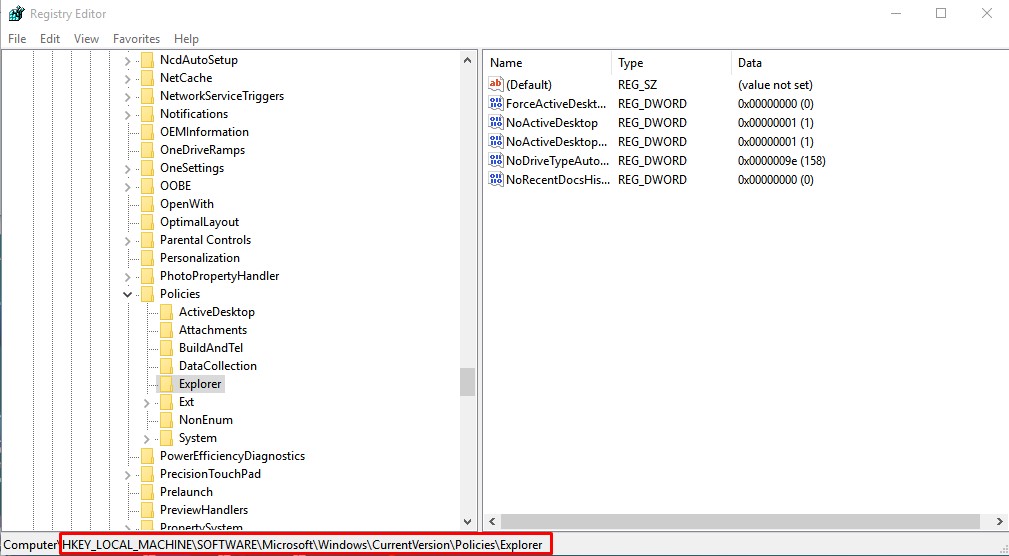
Step 4. On the registry editor, you need to navigate to the following key –
HKEY_LOCAL_MACHINESoftwareMicrosoftWindowsCurrentVersionPoliciesExplorer
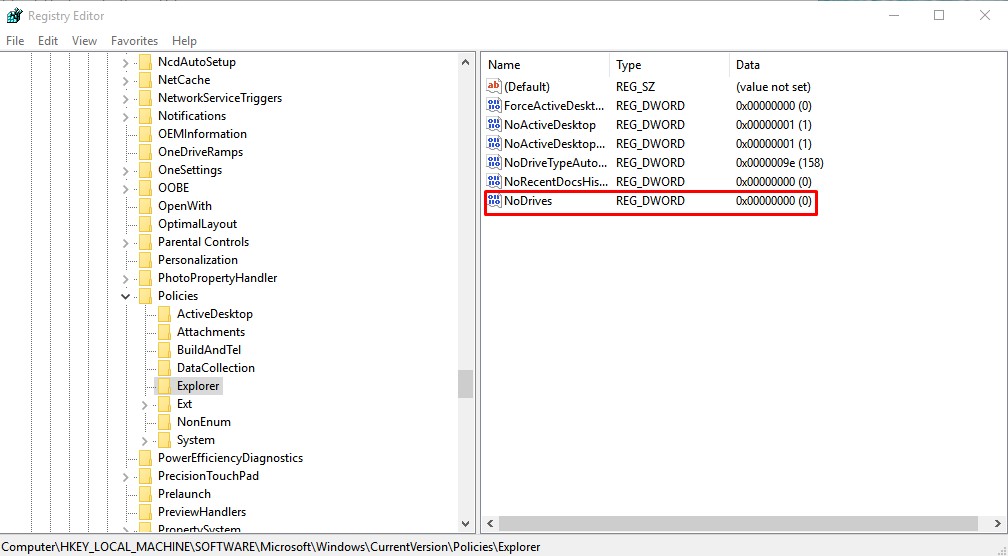
Step 5. Now right click on the ‘Explorer’ key and select ‘New > DWORD (32-bit) Value’
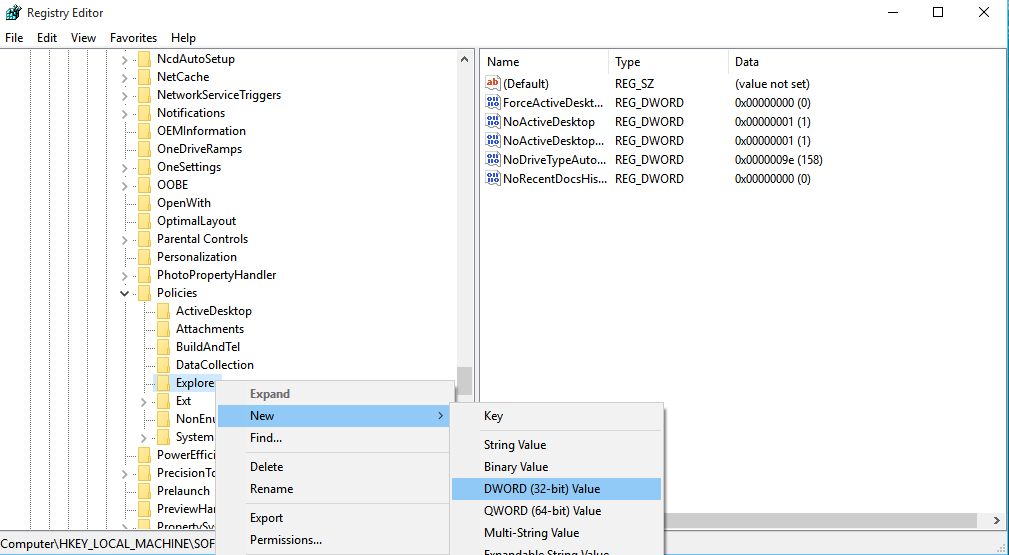
Step 6. Name the new values ‘NoDrives’ and then double click on it.
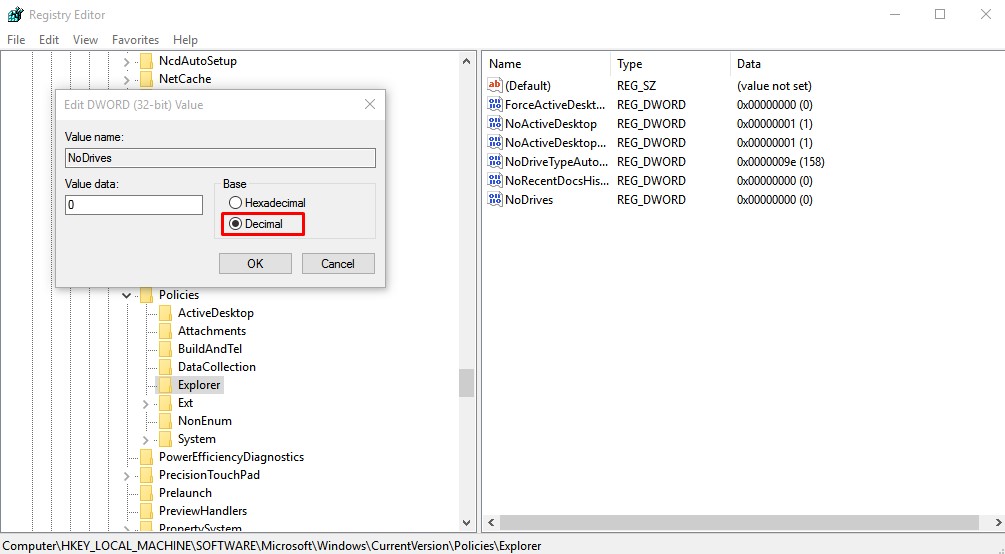
Step 7. On the next dialog box, select ‘Decimal’ as the Base. Now you need to enter the number that corresponds to the drive or drives you want to hide. You need to pick the number from the table given below.
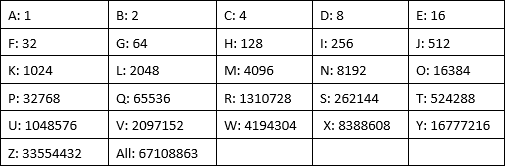
Step 8. For example, if you want to hide the B: Drive, then you need to enter ‘2’ under the value data.
Step 9. Once done, click on ‘Ok’ and restart your computer. After the restart, you won’t see the drive in the File Explorer.
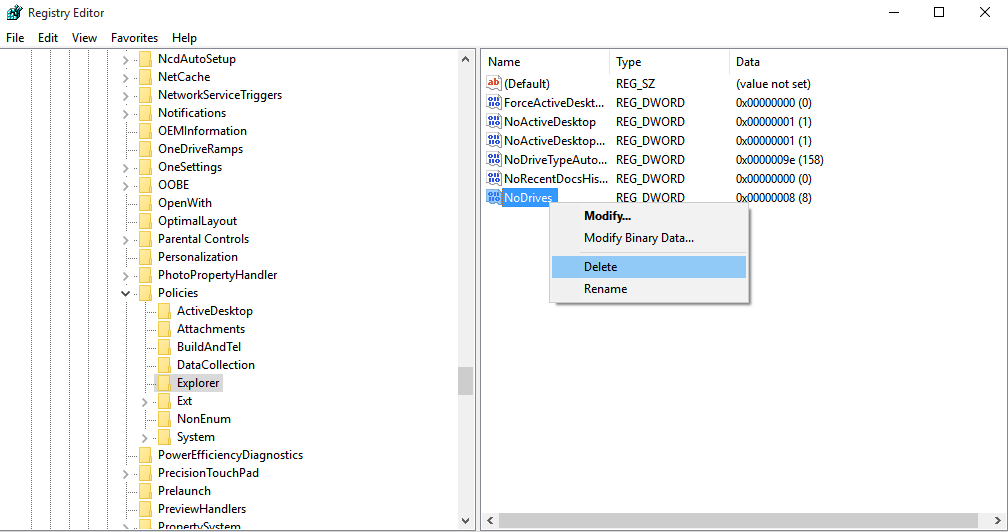
Step 10. To show the hidden drive again, just delete the ‘NoDrives’ value from the registry editor that you have created in Step 5.
That’s it! You are done. This is how you can hide an entire drive on Windows 10 computer.
So, this article is all about how to hide Entire drives on Windows 10 using the Registry editor. I hope this article helped you! Share it with your friends also.
Read More: Windows 7 Ultimate Product Key
Read More: MS Office 2007 Product Key


